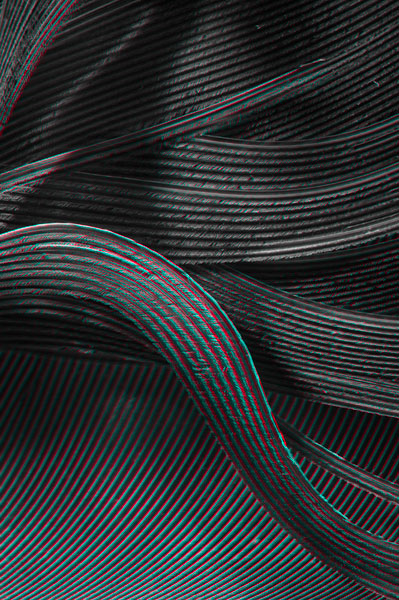
How To: Create an Anaglyph 3D image from 2D photo.
 Here’s an interesting technique for creating 3D anaglyph images using just one photo in Photoshop. I came across this technique a few months ago, posted in another language but got enough info to work out the basics.
 To start you need to create a depth map, which you paint in Photoshop on separate layers above the original photo. You paint in shades of grey, the lighter the area you paint the closer it will appear, white will be the closest and black will be the most distant. For this image the depth map didn’t need to be accurate, but if you have more defined objects, like people you’ll need to do a tidier job. You then flatten the painted file and save it.
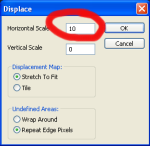
Next re-open the original photo, duplicate it to a new layer, go to “filter-Distort-Displace” type in “10” for horizontal scale, “0” for  vertical leave the other settings as default. Click ok, you will be prompted to “chose a displacement map” so select the depth map you created earlier. This will shift the image up-to 10 pixels to the left depending on the tones in the depth map. Name the layer “Red”, then duplicate the original photo again and repeat the steps above, but this time type in “-10” for horizontal scale which will shift the pixels right, then name the layer “Blue”.
 Next double click on the red layer to open the layer style dialogue box, in blending options un-tick the “R” in the “advanced blending” Channels section (See image). Repeat this for the Blue layer, but instead un-tick the “B”. You now have a 3D anaglyph photo…..so I hope you have your 3D glasses ready!
The above settings for the displace filter are just a guide, you may need to play around with these to get the best result. The technique does work surprising well and with a little playing around you can make some truly stunning 3D photos.
I’ll be trying this out on future images, especially if they’re composite and layered as creating the depth maps will be really easy using the existing layer masks. I will post any future 3D images on the blog.
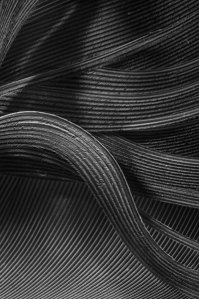
(If your interested the photo is a Macro of a feather, I took last year here’s the original photo)
